Homemade Buttermilk Pancakes

SERVING UP BANGIN RECIPES!
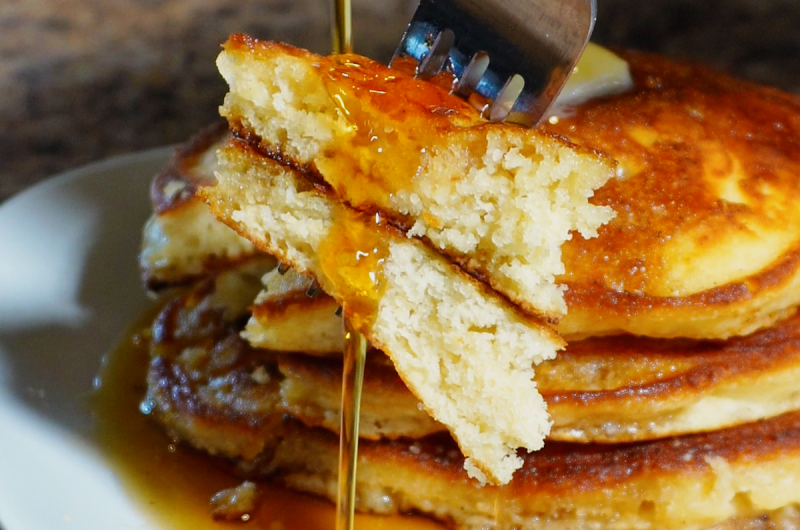
Homemade Buttermilk Pancakes
6-8 Pancakes
15
minutes20
minutes (Total 35 minutes)Ingredients
Dry
- All Purpose Flour - 2 Cups
- Sugar - 1/4 Cup
- Baking Powder - 1 Tbsp
- Baking Soda - 1 Tsp
- Salt - 1/2 Tsp
Wet
- Buttermilk - 1 Cup
- Milk - 1/2 Cup
- Melted Unsalted Butter - 4 Tbsp
- Vanilla - 1 Tbsp
- Egg - 1
To Cook
- Oil – 1 Tbsp
- Butter – 1 Tbsp
Method
Prep:
Start with your dry ingredients. Add the flour, sugar, baking powder, baking soda, and salt to a bowl and whisk together until fully combined. Set that aside and make your wet batter by combining the buttermilk, milk, melted unsalted butter, vanilla, and egg in a separate bowl and whisk until smooth.
Slowly pour the wet ingredients into the dry mixture and fold everything together gently. Do not over mix this batter. Lumps are completely fine and actually a good sign. Over mixing develops the gluten and will give you tough, dense pancakes instead of light and fluffy ones.
Let the batter rest for 5 to 10 minutes. This step allows the baking powder and baking soda to activate and is what gives you that lift and fluffiness once they hit the pan.
Cooking:
Preheat your skillet to medium low, and I mean the lowest form of medium you can get. Too much heat is the number one reason pancakes cook unevenly and burn on the outside before the inside is done.
Add a little oil and butter to the pan and let it melt together. The combination of oil and butter is what gives you those perfectly crispy edges that make these pancakes so good.
Pour your batter into the pan and let it cook undisturbed. Watch for small air bubbles beginning to form across the surface of the pancake. That is your cue to flip. Do not rush it and do not guess.
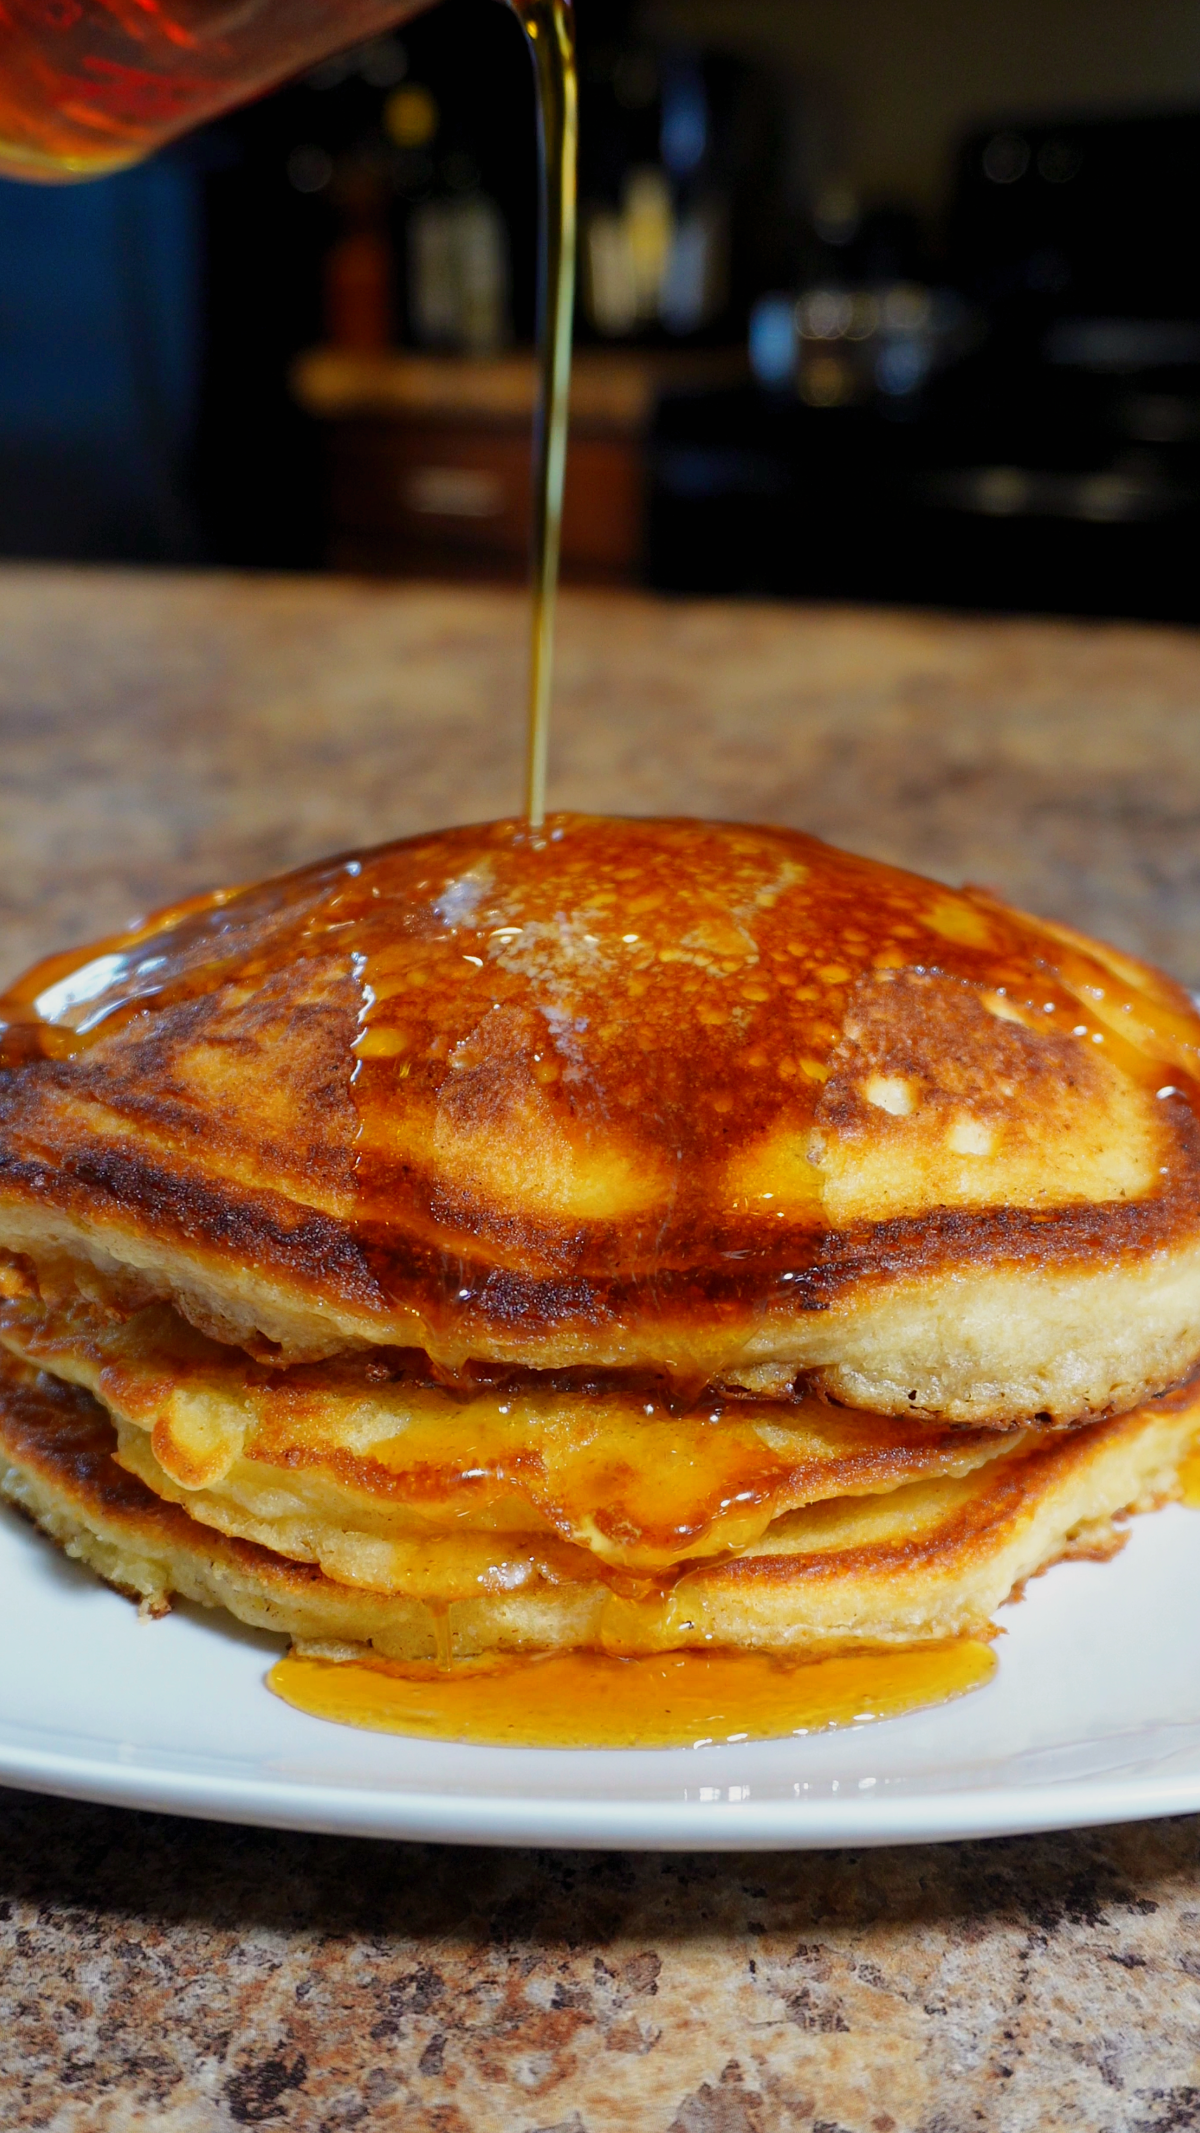
Once you flip, do not press the pancake down. I know the temptation is there but pressing it down pushes all of the air out and gives you a thin dense result instead of that thick fluffy stack. Let it cook until the bottom is also crispy then remove from the pan.
Immediately add a pat of butter on top as soon as it comes off the heat and let it melt right in.
Make a stack and dig in. You are going to love these
TIPS AND TRICKS:
-Do not over mix the batter. A few lumps in the batter are completely normal and intentional. Over mixing develops the gluten in the flour and will make your pancakes tough and chewy instead of light and fluffy.
-Letting the batter rest for 5 to 10 minutes before cooking is a step you do not want to skip. It allows the leavening agents to activate and gives you a noticeably lighter and fluffier pancake.
-The combination of oil and butter in the pan is what creates those crispy golden edges. Butter alone burns too fast and oil alone does not give you the same flavor. Together they are the perfect team.
-Low and slow is the move for pancakes. Cooking on medium low gives the inside time to cook through without the outside burning. Patience is everything with this one.
-Never press down on the pancake after flipping. That pressure pushes all the air out and flattens what would have been a beautifully fluffy pancake. Flip it and leave it alone.
WHAT TO SERVE WITH THIS:
-Crispy bacon or breakfast sausage on the side is a must for me personally. It is just the perfect combination and makes the whole plate feel complete.
-Fresh berries or sliced bananas on top with a drizzle of warm maple syrup is one of my favorite ways to eat these. Simple but so good.
-Toasted pecans on top add a really nice crunch and a little nuttiness that pairs perfectly with the butter and syrup. Highly recommend trying it that way.
FREQUENTLY ASKED QUESTIONS:
Can I make the batter ahead of time?
You can make the batter the night before and store it covered in the fridge. Keep in mind the leavening agents will lose some of their power overnight so the pancakes may not rise quite as much. For the best results, making the batter fresh right before cooking is always the way to go.
Why does my batter need to rest?
Resting the batter allows the baking powder and baking soda to activate and start doing their job before the pancakes even hit the pan. It also allows the gluten in the flour to relax which contributes to a more tender and fluffy texture. Five to ten minutes makes a real difference.
What if I do not have buttermilk?
You can make a quick buttermilk substitute by adding one tablespoon of white vinegar or lemon juice to one cup of regular milk. Stir it and let it sit for about five minutes until it curdles slightly. It works as a solid substitute in a pinch and gives you similar results.
How do I keep pancakes warm while I cook the rest?
Place the finished pancakes on a baking sheet in a single layer in the oven at 200 degrees while you cook the remaining batter. This keeps them warm without drying them out or continuing to cook them. A single layer is best so they hold their shape and stay light.
Can I add mix ins to this batter?
Absolutely. Blueberries, chocolate chips, sliced bananas, or chopped pecans all work great folded into the batter right before cooking. Just make sure you fold them in gently so you do not over mix the batter.