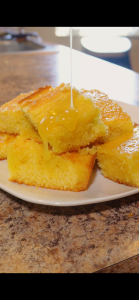
Honey Butter Cornbread

SERVING UP BANGIN RECIPES!
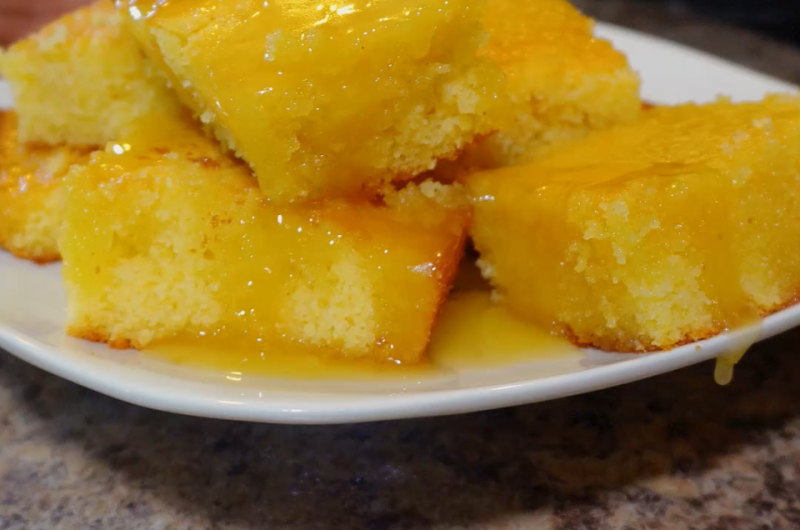
Honey Butter Cornbread
Difficulty: Easy8-10
10
minutes25
minutes (Total 35 minutes)Fluffy, buttery and perfectly golden with a rich honey butter glaze poured over the top that soaks right into every slice.
Ingredients
Dry
- Cornmeal - 1 1/2 Cups
- All Purpose Flour - 1 1/2 Cups
- Sugar - 1 Cup
- Baking Powder - 2 Tbsp
- Salt - 1 Tbsp
Wet
- Milk - 1 1/2 Cups (Adjust For Consistency)
- Vegetable Oil - 1/2 Cup
- Melted Butter - 1/2 Cup
- Eggs - 2
- Vanilla Extract - 2 Tsp
- Honey - 1 Tbsp (Optional, Into Batter)
Honey Butter Glaze
- Butter - 1 Stick
- Honey - 4 Tbsp
Method
Prep:
In one bowl combine your dry ingredients cornmeal, flour, sugar, baking powder and salt. Give it a good mix until everything is evenly distributed. In a separate bowl whisk together the wet ingredients — eggs, milk, vegetable oil, melted butter and vanilla extract. If you want to add a little honey into the batter this is the time to stir it in. It adds a subtle sweetness throughout that pairs beautifully with the glaze.
Batter:
Add the dry ingredients into the wet ingredients and combine well until you have a smooth batter. Do not over mix. Pour the batter into a buttered or non stick pan and spread it out evenly.
Baking:
Bake at 350 degrees for 20 to 25 minutes until the top is golden and a toothpick inserted in the center comes out clean.
Honey Butter Glaze:
While the cornbread is baking add a stick of butter to a medium low heat saucepan. Once melted, gradually add the honey while constantly stirring until you get a smooth silky glaze. Keep the heat low and stir consistently so the butter and honey come together without separating.
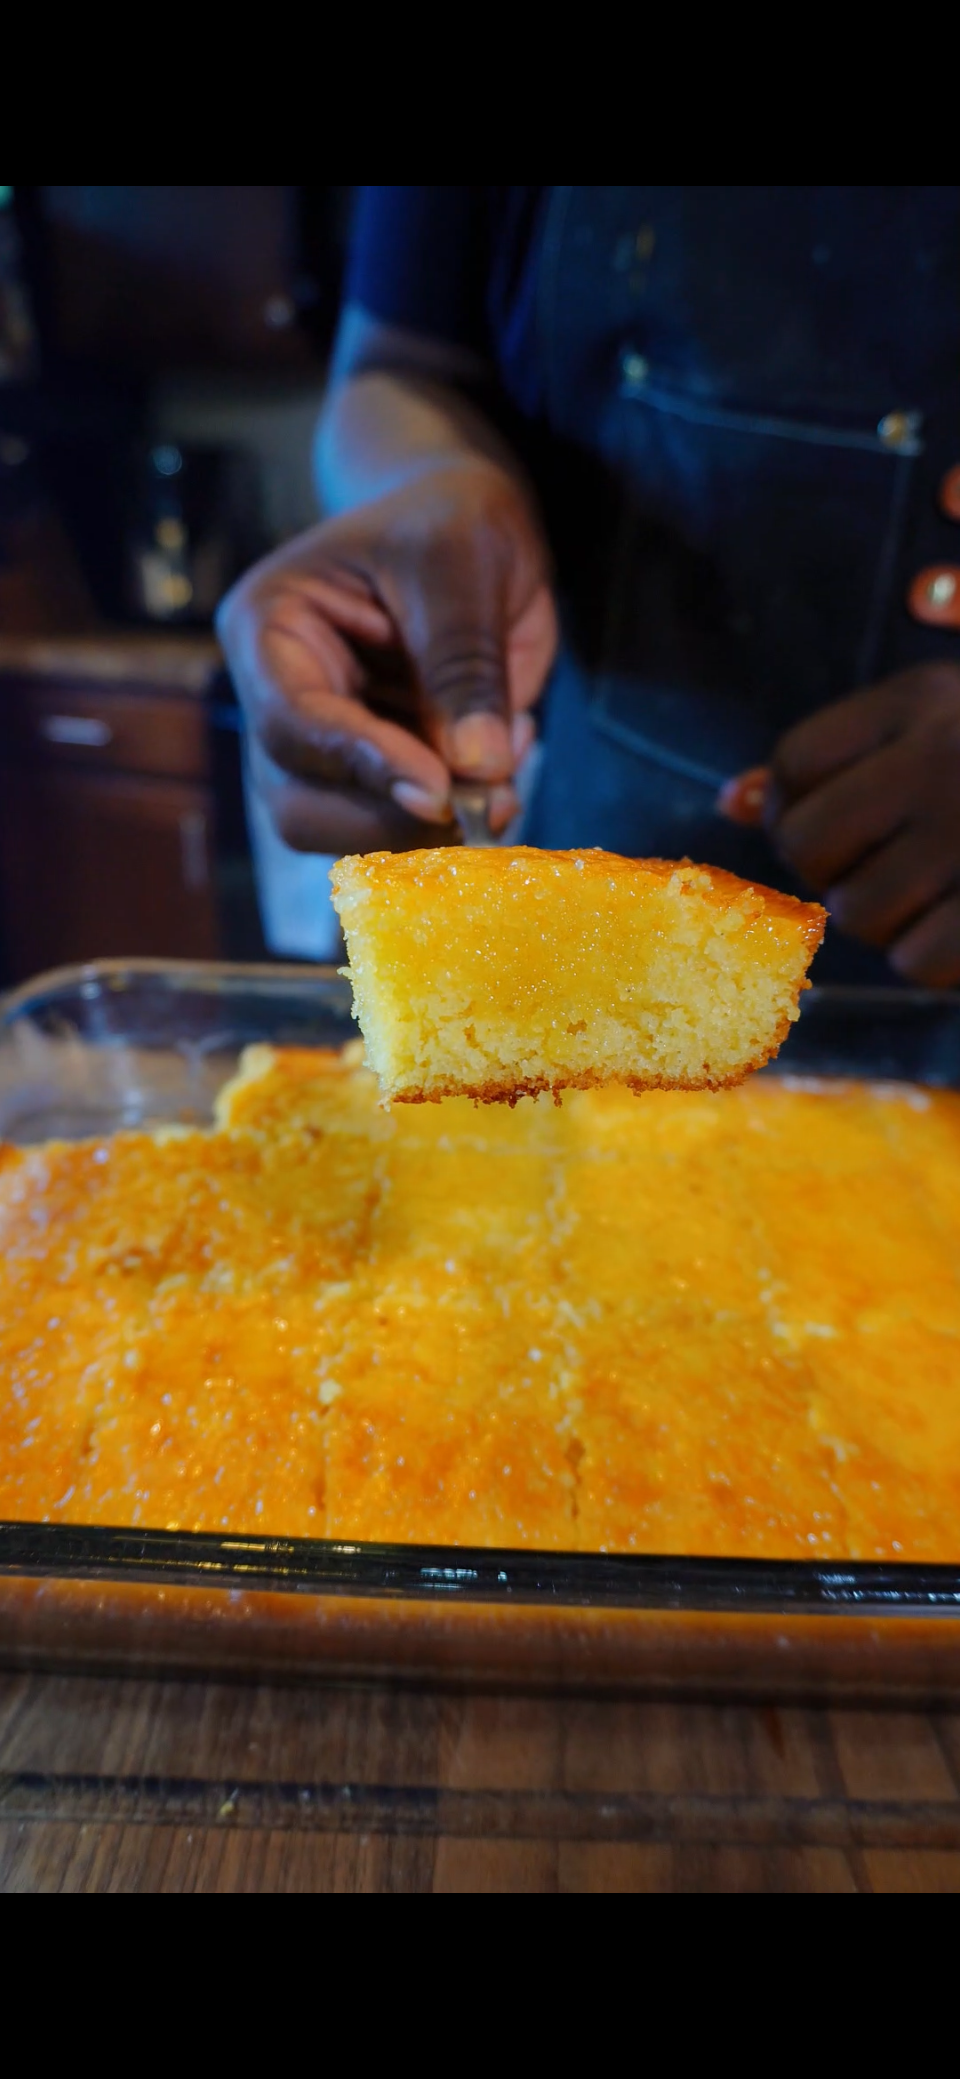
Once the cornbread comes out of the oven pre-slice it before pouring the honey butter over the top. Pre-slicing allows the glaze to soak down into every single piece instead of just sitting on the surface. Pour generously and let it soak in before plating.
Pour even more honey butter over the top when you plate it. Trust me on this one.
TIPS AND TRICKS:
-Pre-slicing the cornbread before pouring the honey butter glaze is the move. It allows the glaze to soak into every piece from the inside out instead of just coating the top. Every single slice gets fully loaded with that honey butter flavor.
-Keep the heat low when making the glaze and stir constantly. Too much heat will cause the butter and honey to separate instead of coming together into that smooth silky consistency you are looking for.
-Do not over mix the batter once you combine the wet and dry ingredients. Mixing too much develops the gluten in the flour and gives you a dense tough cornbread instead of soft and fluffy. Stir until just combined and stop.
-Adjust the milk to your liking for consistency. If the batter looks too thick add a splash more milk until it loosens up to a pourable consistency. Every batch can vary slightly depending on your cornmeal so trust your eye on this one.
-Make sure your pan is well buttered before pouring in the batter. This not only prevents sticking but also gives the edges and bottom of the cornbread that golden buttery crust that is honestly one of the best parts.
WHAT TO SERVE WITH THIS:
-These pair perfectly with my baked beans recipe. The sweet buttery cornbread and the smoky savory beans together is one of the best combinations at any cookout or family gathering. Check out the baked beans recipe on the blog.
-A bowl of chili on the side is another classic pairing. The cornbread soaks up the chili perfectly and makes every bowl so much more satisfying.
-Serve it as a side at any holiday or family dinner. This cornbread fits in everywhere and it will be the first thing to disappear off the table every time.
FREQUENTLY ASKED QUESTIONS:
Can I use a cast iron skillet for this recipe?
Absolutely and it is actually one of the best ways to bake this cornbread. A well seasoned cast iron gives you the most incredible golden crispy crust on the edges and bottom while keeping the inside soft and fluffy. Preheat the cast iron in the oven before adding the batter for the best result.
Can I make this ahead of time?
Yes. Bake the cornbread ahead of time and store it covered at room temperature for up to 2 days. Make the honey butter fresh when you are ready to serve and pour it over right before eating so it soaks in warm. Reheating the cornbread in the oven at 300 degrees for about 10 minutes before adding the glaze gives you the closest result to fresh baked.
Can I reduce the sugar?
You can adjust the sugar to your taste. Reducing it slightly will give you a less sweet cornbread that pairs even better with savory dishes like the baked beans or chili. The honey butter glaze adds plenty of sweetness on its own so the batter does not have to be super sweet to make the final result incredible.
What if my honey butter separates?
If the butter and honey separate it usually means the heat was too high or you added the honey too fast. Take it off the heat, let it cool slightly and stir vigorously to bring it back together. Going low and slow with constant stirring from the start is the best way to keep it smooth and silky.